
Temple Fade
The temple fade (sometimes referred to casually as a "blowout" or "Brooklyn fade" depending on regional dialects) is a staple technique in modern barbering.
Estimated Time: 45 minutes
16. Temple Fade
The Fundamentals of the Temple Fade
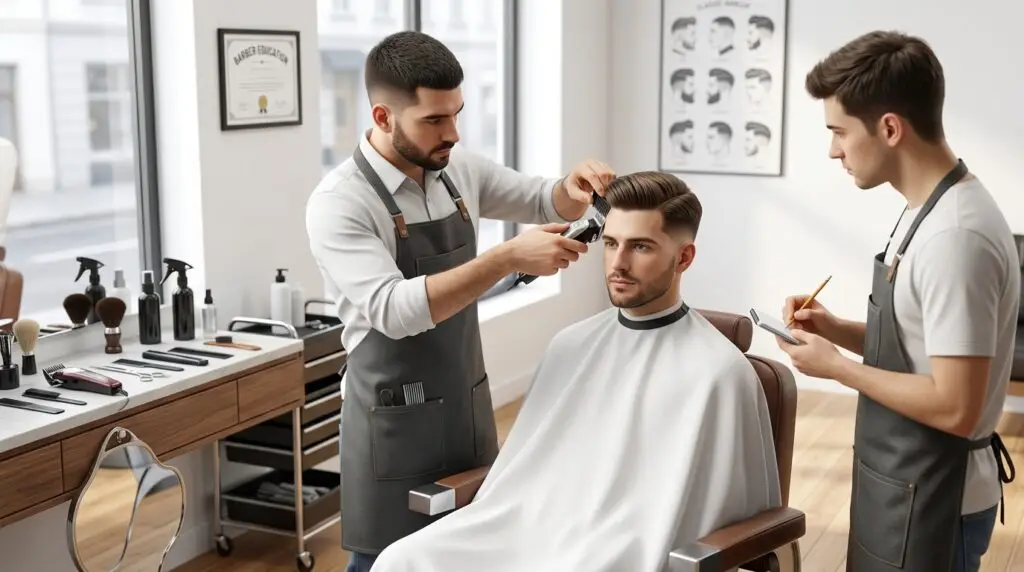
The Fundamentals of the Temple Fade
The temple fade (sometimes referred to casually as a "blowout" or "Brooklyn fade" depending on regional dialects) is a staple technique in modern barbering. It is defined by closely cutting the sideburn and temple area, allowing the hair to gradually transition and blend into the longer lengths found at the crest areas and the top of the head.
Because every client has unique facial structures and style preferences, the temple fade boasts numerous variations. This particular module will equip you with a step-by-step methodology for executing a temple fade that seamlessly transitions into a short top length. Mastering this specific variation lays the foundational skills required to adapt the fade for longer, more textured top sections.
Essential Barbering Arsenal

Essential Barbering Arsenal
Before seating your client, ensure your station is fully stocked with the necessary materials, implements, and equipment. Preparedness is a hallmark of professional barbering.
Cutting and Styling Tools
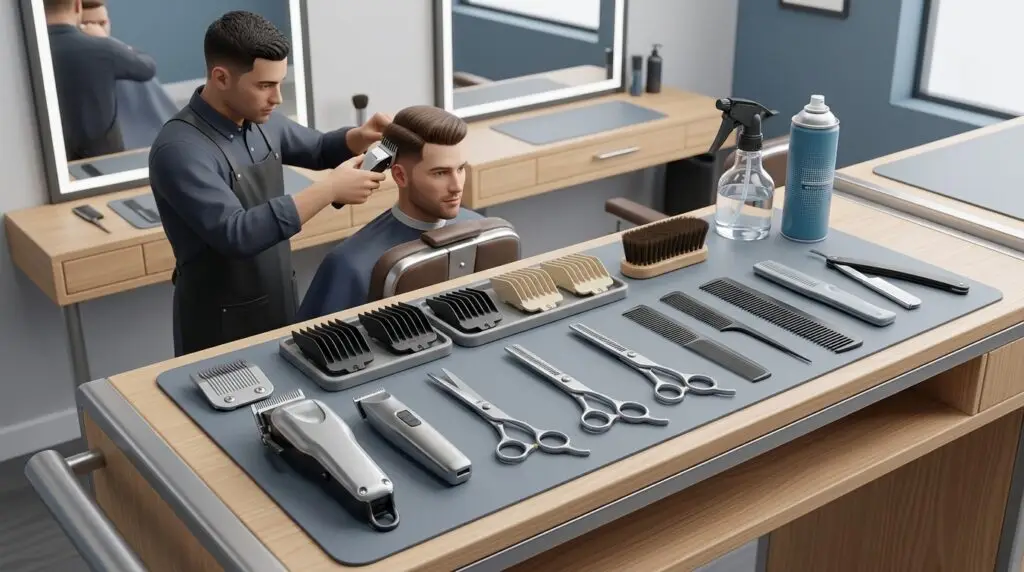
Cutting and Styling Tools
- Detachable blade clippers and adjustable clippers: The workhorses of the fading process.
- Outliner: Essential for creating crisp, sharp lines around the perimeter.
- Shears: Used for fine-tuning and detail work.
- Straight razor and fresh blades: Crucial for a smooth, traditional finish.
- Assorted combs: All-purpose combs, taper combs, flat top combs, and picks.
- Styling brushes and professional styling products to finalize the look.
Disinfection and Maintenance

Disinfection and Maintenance
- Clipper disinfectant and clipper coolant: Vital for maintaining blade hygiene, temperature, and longevity.
Linens and Client Comfort

Linens and Client Comfort
- Shampoo cape (or waterproof cape) and haircutting cape.
- Disposable barber towels and traditional terry cloth towels.
- Neck strips: Used to maintain a sanitary barrier between the client's skin and the cape.
- Hand mirror: To show the client different angles of their fresh cut.
- Shaving cream or shaving gel and talc (talcum powder) to soothe the skin post-service.
The Client Preparation Phase

The Client Preparation Phase
A flawless haircut begins long before the clippers are turned on. Proper preparation sets the stage for a sanitary, professional, and precise service.
- Always begin by taking the time to thoroughly wash your hands.
- Conduct a comprehensive client consultation to ensure mutual understanding of the desired end result.
- Drape the client for wet service, securing the waterproof cape properly.
- Shampoo, thoroughly towel dry, and completely blowdry the client's hair. Cutting clean, properly dried hair ensures clipper accuracy.
- Remove the heavy waterproof cape and replace it with a fresh neck strip and a lightweight haircutting cape.
- Finally, face the client toward the mirror and firmly lock the chair to prevent unexpected swiveling during intricate fading steps.
Executing the Procedure
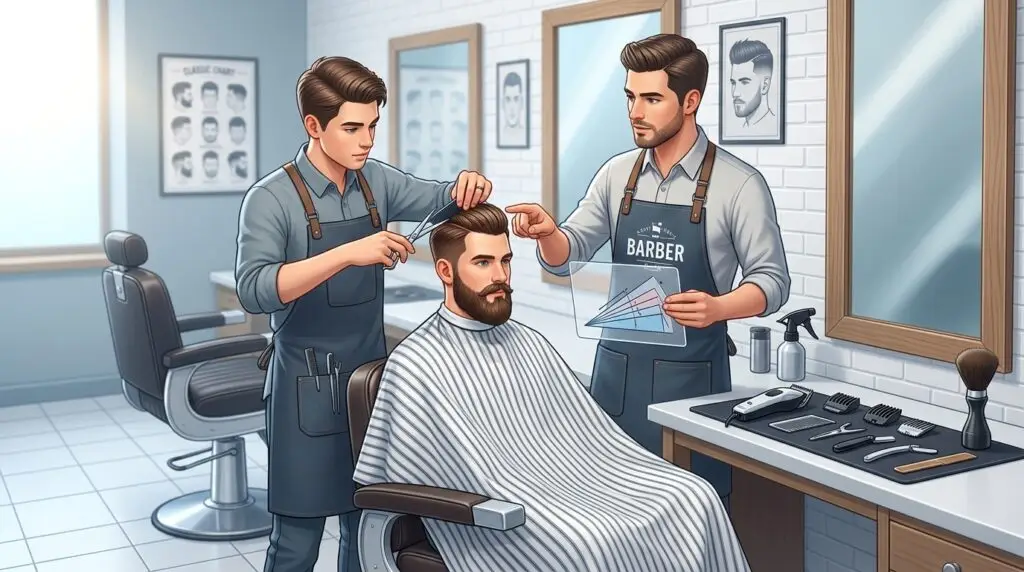
Executing the Procedure
Transforming raw hair into a sculpted temple fade requires methodical precision. Follow these segmented phases to maintain control over the cut.
Phase 1: Assessment and Establishing the Top Guide
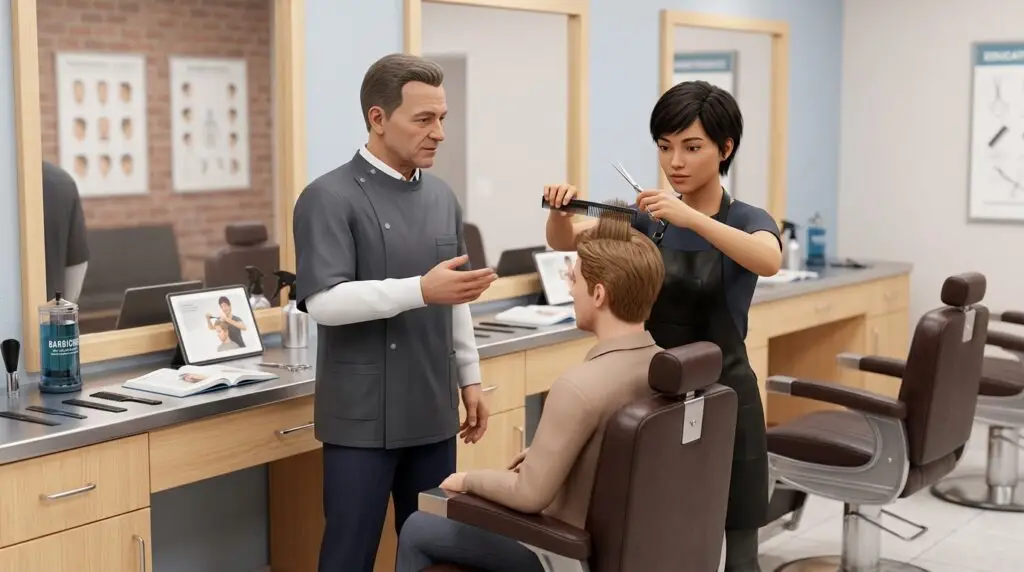
Phase 1: Assessment and Establishing the Top Guide
- Begin your technical work by visually and physically assessing the client's hair texture, hair density, and natural growth pattern. For example, highly dense hair may require you to move the clippers much slower to avoid snagging.
- Use a pick or comb to lift the hair. Establish the target length for the top section and the shortest acceptable length for the back of the head.
- Equip your clippers with the correct blade size, clipper guard, or adjustable setting to achieve the desired top length.
- Create a center panel down the top section to serve as your foundational guide. Depending on the curl pattern, density, and target length, you must decide whether to cut with the grain (following hair growth) or cut against the grain (opposite to hair growth).
- Work systematically by cutting to the left and right of your newly established center panel, effectively blending the entire top section.
- Carefully blend into and around the crest areas (the widest part of the head, connecting the top to the sides).
Phase 2: Shaping the Back and Sides
Phase 2: Shaping the Back and Sides
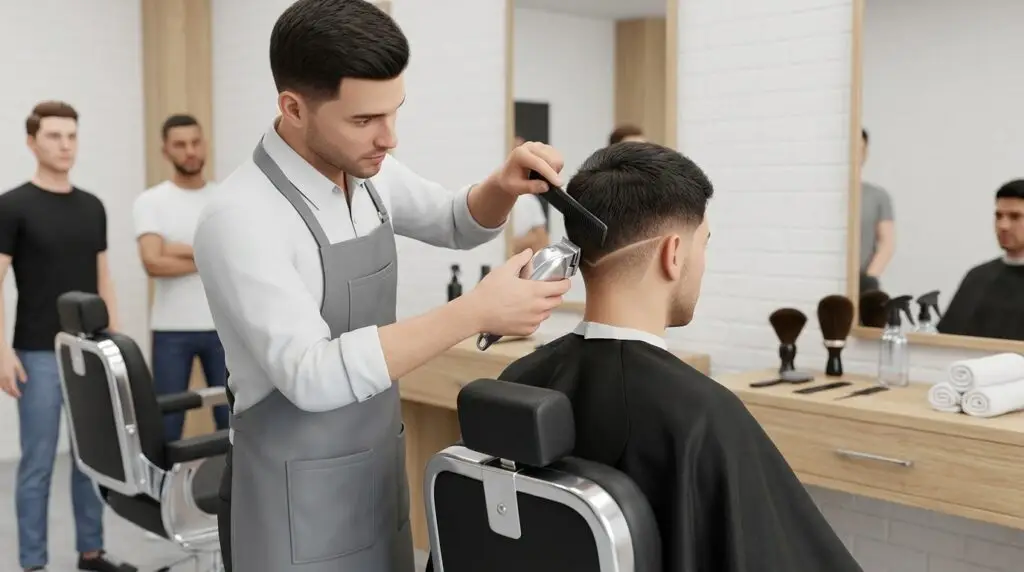
- Swap or adjust your clipper blades to the length designated for the back section.
- Starting strictly at the hairline in the center-back, cut against the grain moving upward toward the occipital area(the prominent bone at the back of the skull). This establishes your secondary guide.
- Continue cutting vertical panels to the left and right of this back center panel, matching your guide length.
- When approaching the ears, angle your clippers slightly. Cut the hair behind the ears on a slight diagonal to guarantee a smooth transition into the back section.
- Repeat this precise diagonal blending on the opposite side of the head.
Phase 3: The Temple Taper
Phase 3: The Temple Taper
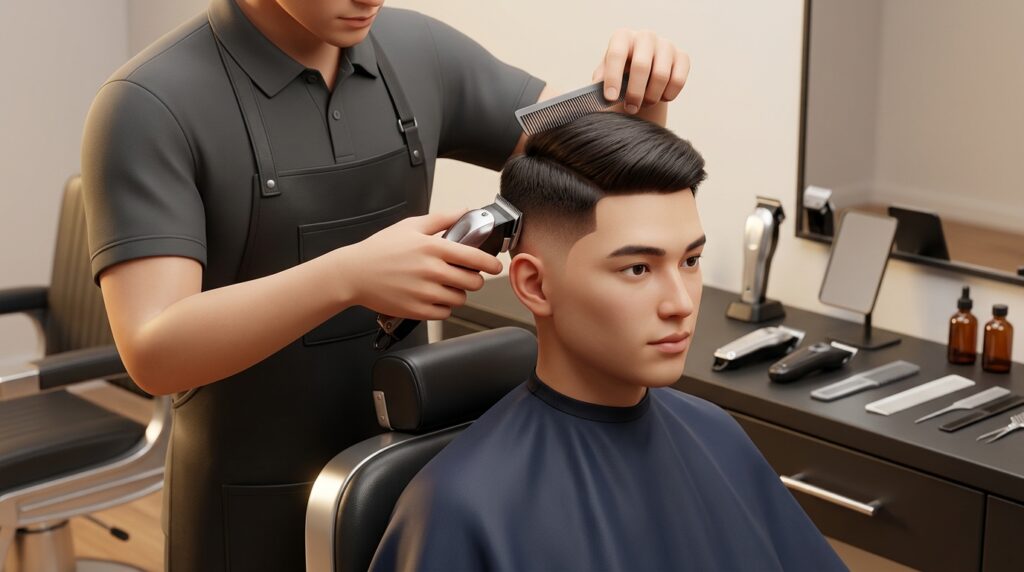
- Reposition yourself to the side of the client. Set your adjustable clippers to the open position (lever pulled fully back, leaving the hair slightly longer).
- Initiate the cut at the very bottom of the sideburn near the hairline. Begin moving upward, adjusting the clipper blade or guard as needed, to taper seamlessly into the side section.
- Continue to taper and blend the hair upward, shifting into the temple area.
- Mirror these exact tapering and blending steps on the opposite side of the client's face.
Phase 4: Connecting the Fade
Phase 4: Connecting the Fade
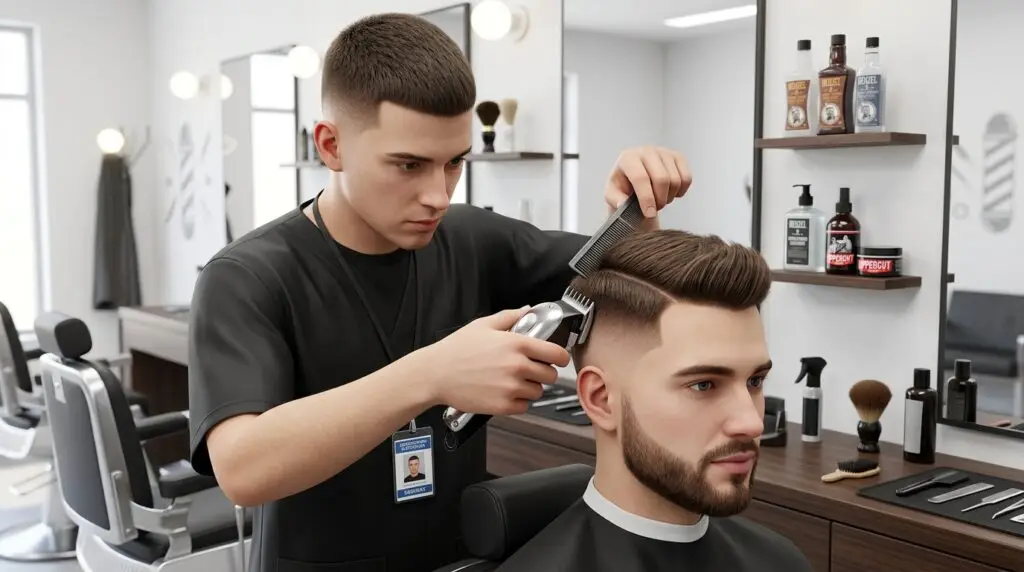
- Step toward the front of the client. Delicately taper and blend the front-side section directly into the temple area. Achieve this by either switching out your clipper blades or progressively opening the adjustable clipper lever as the hair needs to remain longer higher up on the head.
- Continue blending horizontally, ensuring the newly faded side sections merge perfectly into the previously established crest and back sections.
- Step back and analyze. Repeat these tapering and blending techniques on both sides, constantly swapping guardsor blades as necessary to guarantee a flawless, shadow-free gradient.
- Continuously check and fine-tune your work. The sides must fluidly connect with the crest and back without any visible lines of demarcation.
Phase 5: Detailing and Finishing Touches
Phase 5: Detailing and Finishing Touches
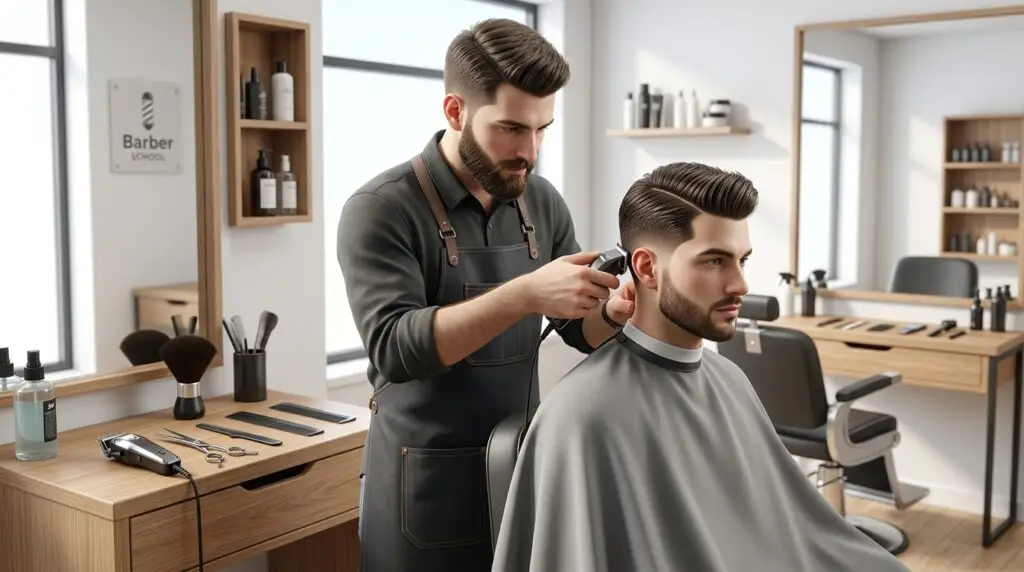
- Throughout the entire process, make it a habit to regularly dust the hair clippings off your client using a neck duster or towel.
- Utilize the wall mirror and your hand mirror to double-check symmetry and balance.
- Deploy your outliner to heavily detail the hairline. When lining up the edges, never apply heavy pressure, which can damage the skin; simply let the sharp teeth of the tool do the work.
- If the client requests it, elevate the service by performing a hot lather outline shave with your straight razor.
- Do a final visual check utilizing the mirror to ensure both sideburn lengths are perfectly identical.
- You have now completed a professional, well-blended temple fade.
Clean-Up and Disinfection

Clean-Up and Disinfection
A true professional's job is not complete until the workspace is fully reset and sanitized.
- Clean and disinfect all cutting tools and implements (shears, combs, clippers) according to state board regulations.
- Wipe down and sanitize all work surfaces and the barber chair.
- Thoroughly sweep up all fallen hair clippings and immediately deposit them into a closed receptacle.
- Responsibly dispose of all single-use materials (like neck strips and used razor blades). Deposit all reusable linens, such as towels and capes, straight into the designated laundry bin.
- Conclude the service by once again thoroughly washing your hands.
Glossary of Terms
Temple Fade
A specialized tapering haircut where the shortest length is localized tightly around the client's sideburns and temple, heavily blended into longer hair at the top and crest.
Crest Area
The widest section of the head, acting as a transitional zone where the top of the head begins to curve downward to meet the sides.
Occipital Area
The region located at the lower back of the head, defined by the prominent occipital bone. This acts as a major structural landmark when setting clipper guidelines.
Grain
The natural directional flow or growth pattern of the client's hair. Cutting with the grain preserves length and reduces bulk, while cutting against the grain removes maximum length and ensures a closer cut.
Open Position
A setting on an adjustable clipper where the lever is pulled back, slightly extending the distance between the cutting blade and the stationary blade, effectively leaving the hair longer than the closed position.
Outliner
A specialized, fine-toothed trimmer explicitly designed for edging, detailing, and creating incredibly sharp perimeters along the hairline and beard.
Center Panel
A vertical or horizontal strip of hair cut to a specific length first, acting as an anchor or foundational guide for the rest of the haircut to reference.